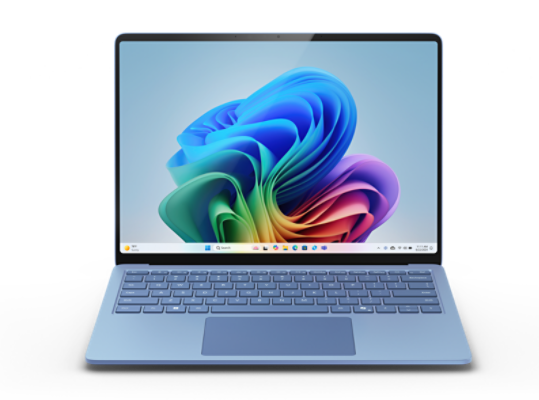
Is your Microsoft Surface laptop or tablet in need of a screen replacement? We are excited to announce that we now have a selection of specialist Microsoft Surface screen assemblies in stock at Laptop-LCD-Screen.co.uk. These are not just ordinary screens; they are complete front screen assemblies that include the LCD panel and touch digitizer glass, making the replacement process a simple swap-out.
Why Choose Our Screen Assemblies?
- Complete Assembly: Each unit comes as a complete assembly, including the LCD screen and touch digitizer glass.
- Easy Installation: Designed for straightforward replacement without the need for transferring components.
- High Compatibility: We offer assemblies specifically matched to various Microsoft Surface models to ensure perfect compatibility.
1. Microsoft Surface Pro 7 1866 Assembly (Version 2)
We have the Version 2 type assembly compatible with the following models and part numbers:
LG Philips LP123WQ2-SPA1 12.3" Screen
Microsoft Surface Pro 7 M1106801-002 12.3" Screen
Microsoft Surface Pro 7 M1866 12.3" Screen
Microsoft Surface Pro 7 1866 12.3" Screen
Part Code: M1106801
Compatible Model: LP123WQ2-SPA1 (as shown in the product images)
2. Microsoft Surface Pro 3 Touch Screen Assembly
This assembly is specifically designed for the Surface Pro 3 and is only compatible with the following models:
Identification: The assembly has TOM12H20-V1.1 printed on it and will not work with other types.
3. Microsoft Surface Pro 5 Assembly
Compatible with the following parts and models:
Microsoft Surface Pro 5 1796 12.3" Screen
LG Philips LP123WQ1-SPA2 12.3" Screen
Microsoft Surface 6870S-2403A 12.3" Screen
Microsoft Surface Pro 5 1807 12.3" Screen
Microsoft Surface Pro 5 1797 12.3" Screen
Compatible Model: LP123WQ1-SPA2
4. Microsoft Surface Pro 4 1725 12.3" Screen Assembly
Compatible with the following models and part numbers:
Microsoft Surface Pro 4 12.3" Screen
Microsoft Surface Pro 4 1724 12.3" Screen
Microsoft Surface Pro 4 1725 12.3" Screen
Samsung LTL123YL01 Series 12.3" Screens:
5. Microsoft Surface Book 3 1900 & 1909 13.5" Touch Screen Assembly
We now have stock for the Surface Book 3 models 1900 and 1909:
Key Features of Our Screen Assemblies
- Touch Digitizer Included: All assemblies come with the touch digitizer integrated, ensuring full touch functionality.
- High-Quality Displays: Enjoy the crisp visuals and vibrant colors that match the original screen specifications.
- Hassle-Free Replacement: Since all components are included, you won't need to transfer any parts from your old screen.
Why Buy from Laptop-LCD-Screen.co.uk?
- Genuine Parts: We supply only authentic screen assemblies that meet OEM standards.
- Expert Support: Our support ticket system is available 24 hours.
- Fast Shipping: Get your replacement screen quickly with our efficient delivery service.
- Comprehensive Compatibility: We provide detailed compatibility information to ensure you get the right screen.
How to Ensure Compatibility
- Check the Model Number: Verify your Microsoft Surface model number (e.g., Pro 7 1866, Pro 5 1796).
- Match the Part Code: Look for part codes like M1106801 or LP123WQ2-SPA1 on your existing screen.
- Consult Our Product Pages: Each product page includes detailed information and images to help you confirm compatibility.
Ready to Restore Your Microsoft Surface?
We recommend taking your Microsoft Surface to a professional fitted. Medium difficulty.
The Microsoft Surface has the screen assembly stuck into the back lid with double sided tape. To replace the display follow these instructions:
1) Use a heat gun (a hairdryer will also work) to loosen the glue on the double sided tape. The adhesive is usually around the edges as in the image below:

2) Use a pry tool to insert into one of the speaker openings or any other place where you can slide it in.

3) Whilst the adhesive is still warm, cut through it with the pry tool by sliding the tool around the inside of the display. Do not insert the pry tool deeper than the edge of the bezel as you do not want to damage any cables inside the display (such as the wireless antenna).

4) You may need to use multiple Pry Tools

5) Open the Surface. Gently lift the display away from the back lid.


6) Disconnect the Battery and Display Cables


7) Remove the old display assembly

8) Transfer parts from old display to new if needed and then connect to test the new display.
9) Once tested refit with double sided tape into the chassis of the laptop.
10) Congratulations! Job done.
Laptop-LCD-Screen.co.uk is your trusted source for high-quality laptop screens. We are committed to providing the best products and customer service. Order your Microsoft Surface replacement screen today!
