What’s the cure for a broken Gateway laptop screen?
We know how frustrating it can be when you break your laptop screen. However, a damaged Gateway screen need not be a cause for concern: laptop screen replacement is surprisingly simple and, it requires very little technical expertise. In fact, some of our customers have managed to replace their broken screen in just half an hour, saving themselves valuable time and money in the process! Below, you’ll find detailed instructions that will help you replace your broken Gateway screen with ease.
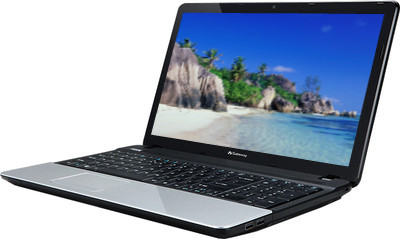
Replacing a broken Gateway screen
Step one
Before doing anything else, unplug your Gateway machine and remove the battery. You should also ensure that you have disconnected any peripheral devices from your machine, (such as laptop speakers, hard drives and/or memory sticks.) Once you are sure that you have disconnected your laptop from any (and all) sources of power, use a small screwdriver to carefully prise off the plastic covers on the machine’s hinges. Next, locate the screws holding the front bezel, (or the plastics surrounding the broken Gateway screen,) in place. These screws are often disguised by small aesthetic covers so, you’ll need to carefully remove these, (and set them aside,) first
Step two
Once you are sure that you have removed all of the screws holding the front bezel in place, gently pull it free from the machine, taking care not to break it in the process. At the bottom of the exposed screen, you should find the inverter board. Disconnect the cable attached to it. Once you have done that, remove the screws holding the cracked Gateway screen in place. Once you have removed all of these screws, (and set them aside safely,) slowly pull the broken Gateway screen towards you, (taking care so as to avoid injury,) and disconnect the large ribbon cable attached to the back, (and top,) of the screen.
Step three
You should now be in a position to remove the broken screen from your machine. To fit the replacement, all you need do is perform the above instructions in reverse. (For example: set the new screen in place, re- attach the ribbon-like cable to its back, re-connect the inverter cable, replace the screws that held the old screen in its metal holding frame and then re-attach the surrounding plastics or, the front bezel.)
Further help and advice
Are you still worried about performing this repair by yourself? Are you in need of further guidance? Take a minute or two to watch the videos posted below:
All of the Gateway screens we stock
*Disclaimer: As with any repair you choose to undertake, Laptop-LCD-Screen.co.uk cannot be held responsible for any damage caused to your device during the replacement/repair process. If you feel anxious or unsure about completing this repair yourself, it is best to err on the side of caution.
