




Cart
£0.00
Learn how to identify, remove and replace a conventional laptop LCD or OLED panel. The video and complete photo walkthrough cover the full repair—from diagnosing the damage and finding the panel model number to reconnecting the cable, testing the new screen and refitting the bezel.
Watch the complete process once before opening the laptop. You can then return to the numbered photo steps while carrying out the repair.
The easiest designs have a removable plastic bezel and a separate panel secured by screws or stretch-release adhesive. Edge-to-edge glass, bonded touchscreens, convertibles and some ultra-thin OLED assemblies are more complex and may be better handled by an experienced repairer.
This guide works as a general method for HP, Dell, Lenovo, Acer, ASUS and many other manufacturers, but individual models differ. Examine the lid construction before removing anything, and stop when the machine does not match the design shown.
A live eDP or LVDS connector can short while it is being inserted or removed. Disconnect the charger and physically disconnect or isolate the battery according to the laptop’s service procedure. Do not reconnect power until the cable is fully seated and secured.
Confirm that the display panel is the part most likely to need replacing.
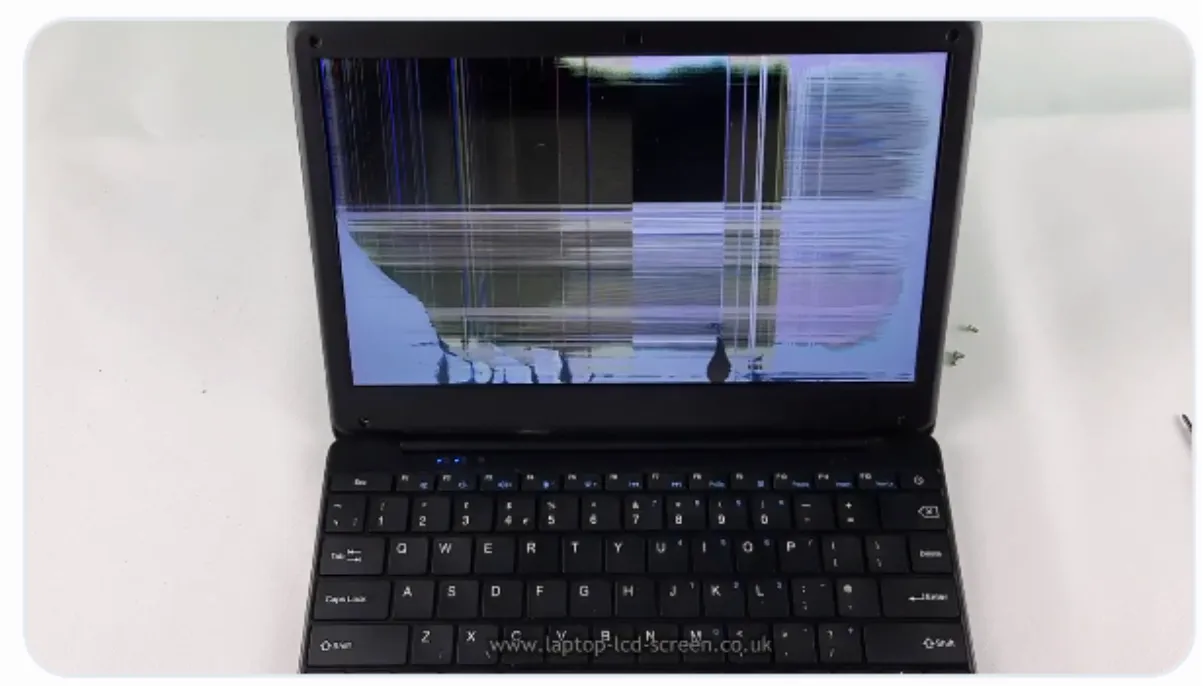
A cracked screen, black or purple liquid-crystal patches and obvious impact damage require panel or complete display-assembly replacement. Vertical lines, flickering and darkness can also be caused by the cable, graphics system or backlight circuit, so use the laptop screen troubleshooter when there is no visible physical damage.
Do this before removing the bezel or touching the display connector.
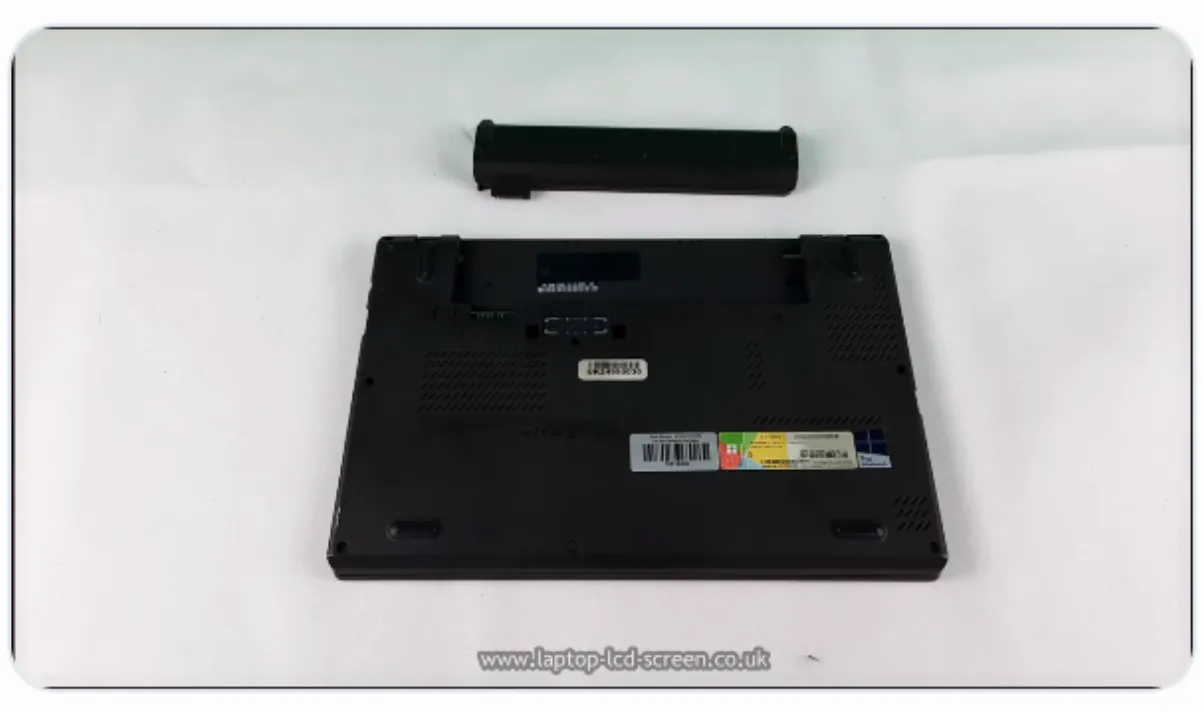
The battery and external power must be disconnected. On laptops with an internal battery, remove the base cover and disconnect the battery cable when the service procedure requires it. Some models provide a BIOS battery-disconnect option, but the method is model-specific.
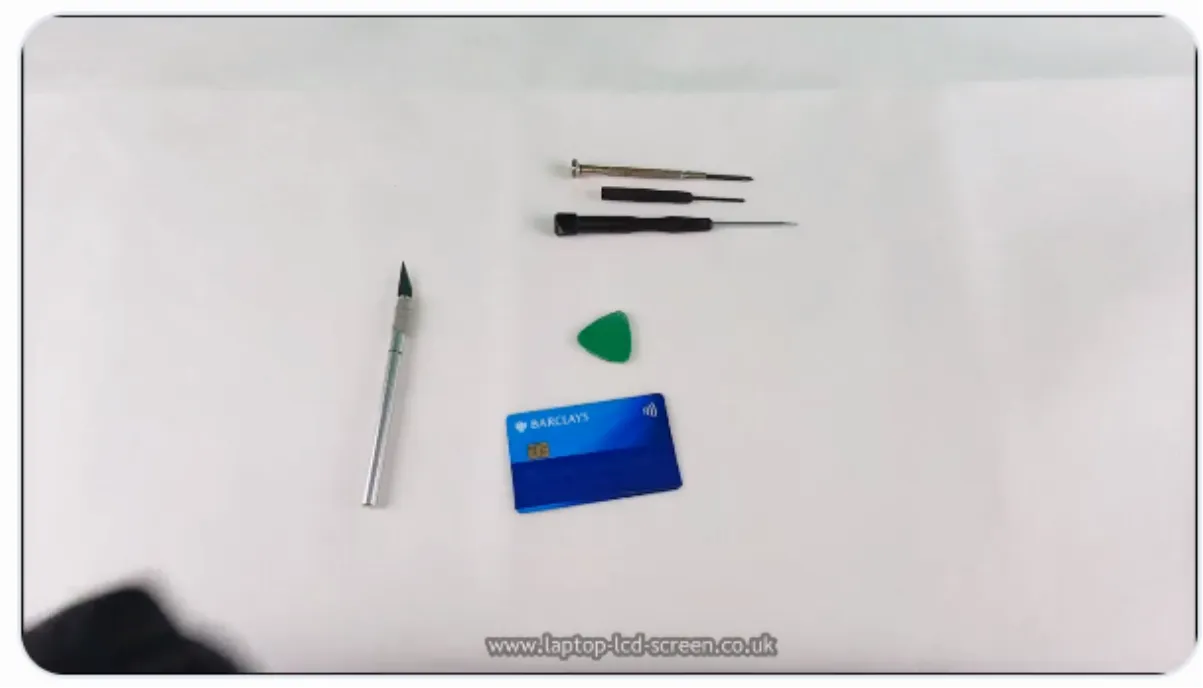
A plastic card or guitar pick helps separate a clipped bezel. Fine tweezers can help with adhesive tabs and connector tape. A thin blade may help lift a rubber screw cover, but keep metal tools away from the panel surface, cable and electronics.
Not every laptop uses the same bezel, screws or adhesive.
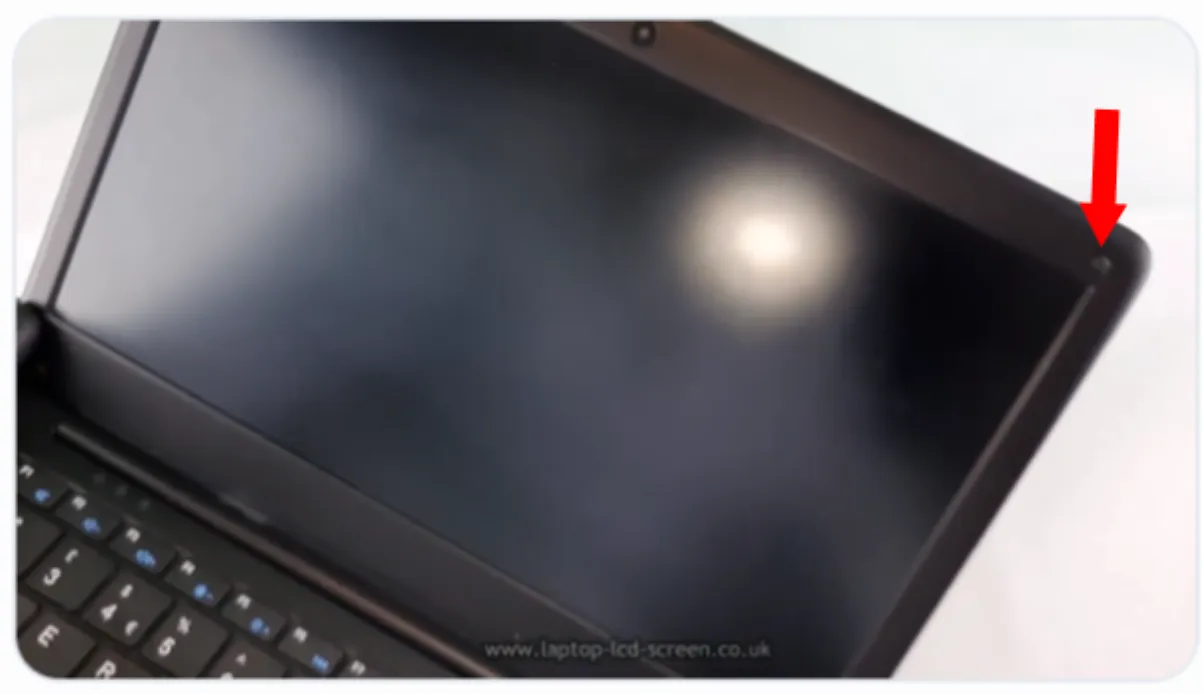
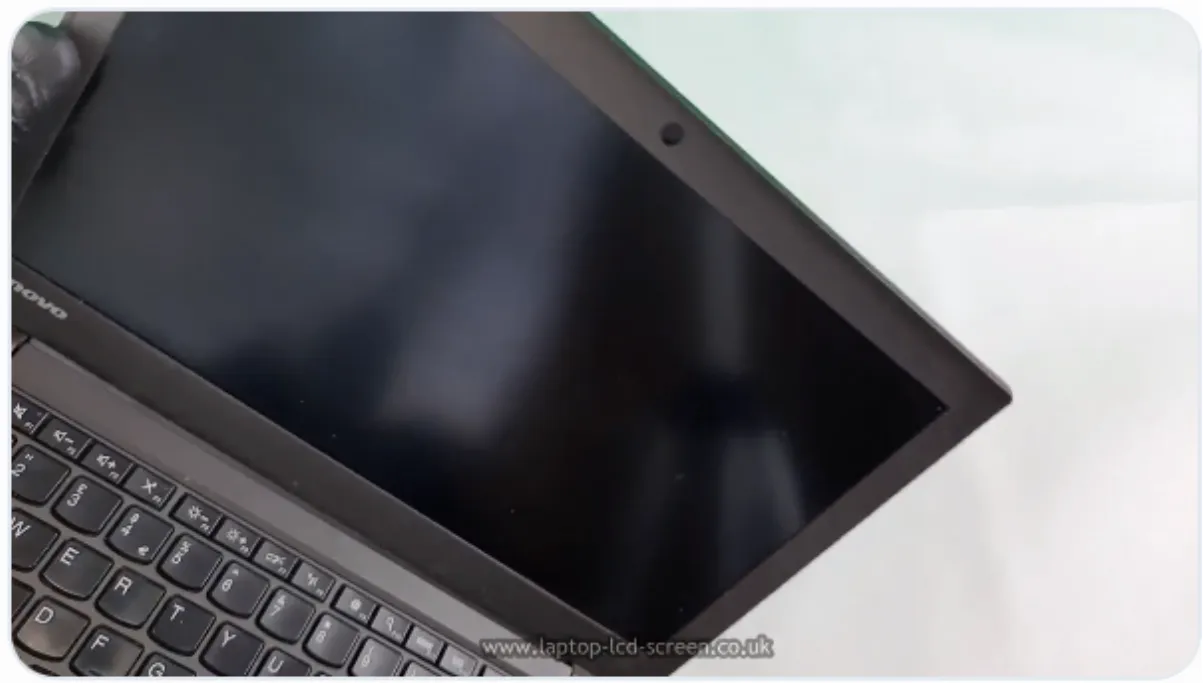
Look around the plastic frame, which is called the bezel. Rubber dust covers near the corners may hide screws. When there are no covers or screw heads, the bezel may simply clip to the lid, although adhesive is sometimes used along the lower edge.
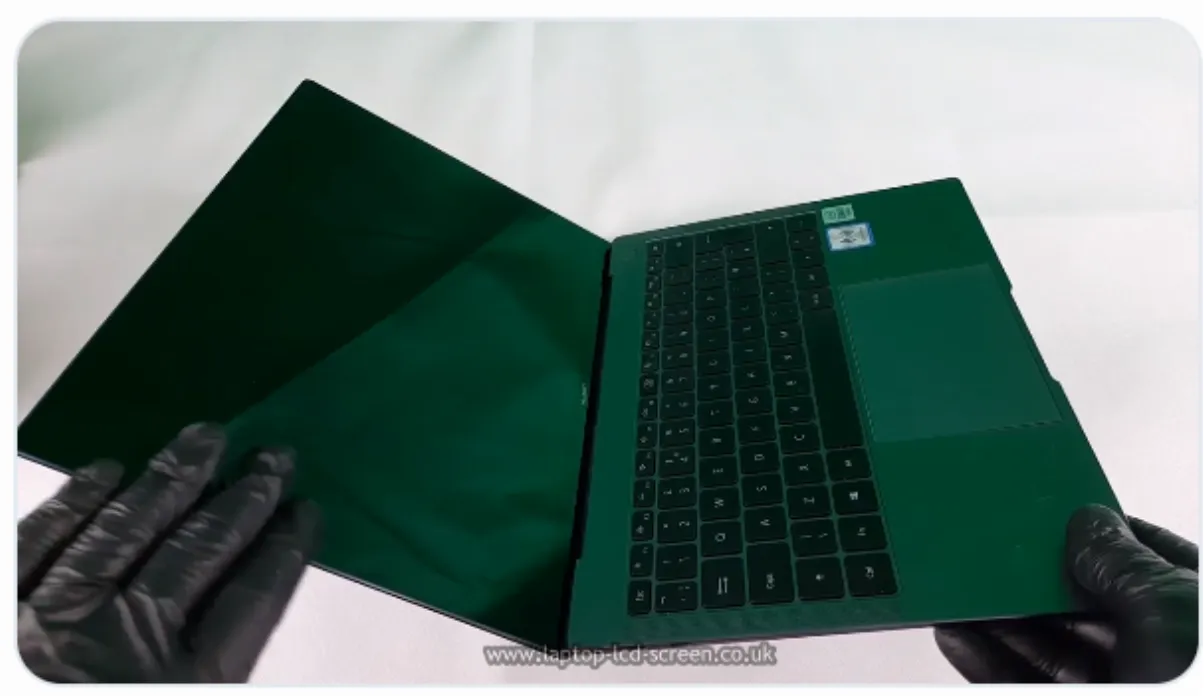
The cover glass may be bonded to the digitizer, display or lid with strong adhesive. Professional repairers will use a heat-gun screen replacement procedure. Excess heat can damage the display, polariser, touch layer, plastics, cables and nearby battery components.
The panel model number is the safest way to find the correct replacement.
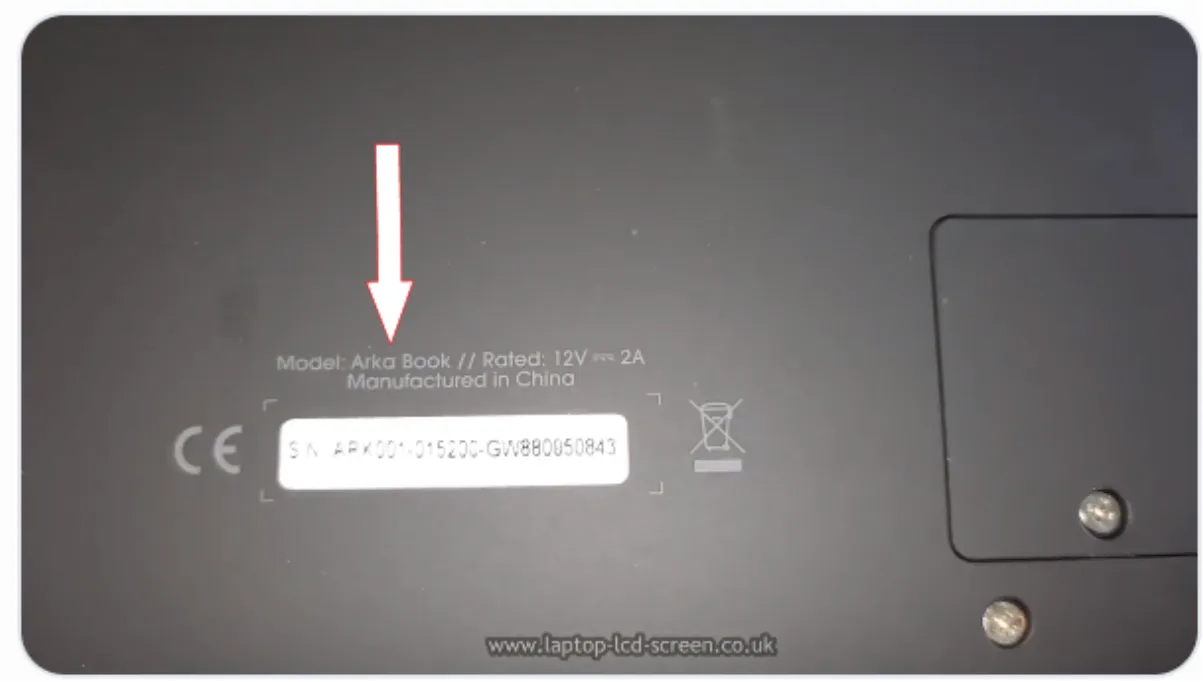
The laptop model is a useful starting point, but one model family can be supplied with several screen configurations. When several resolutions, connectors, refresh rates or touch options exist, use the label on the rear of the original panel.
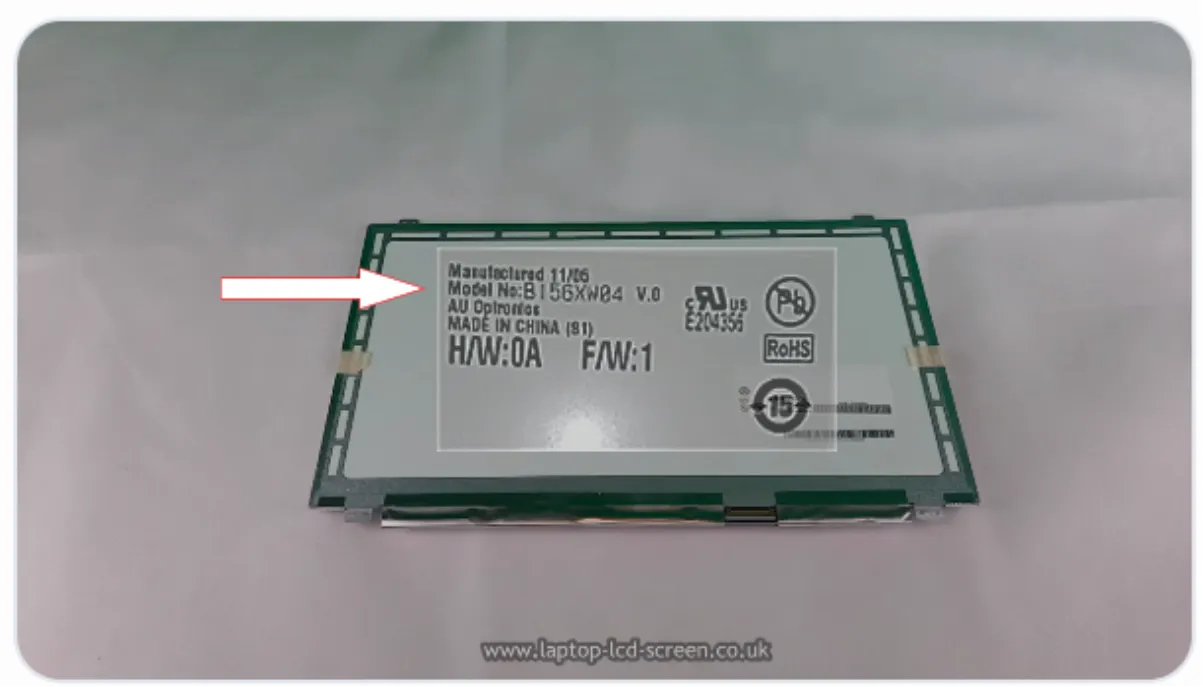
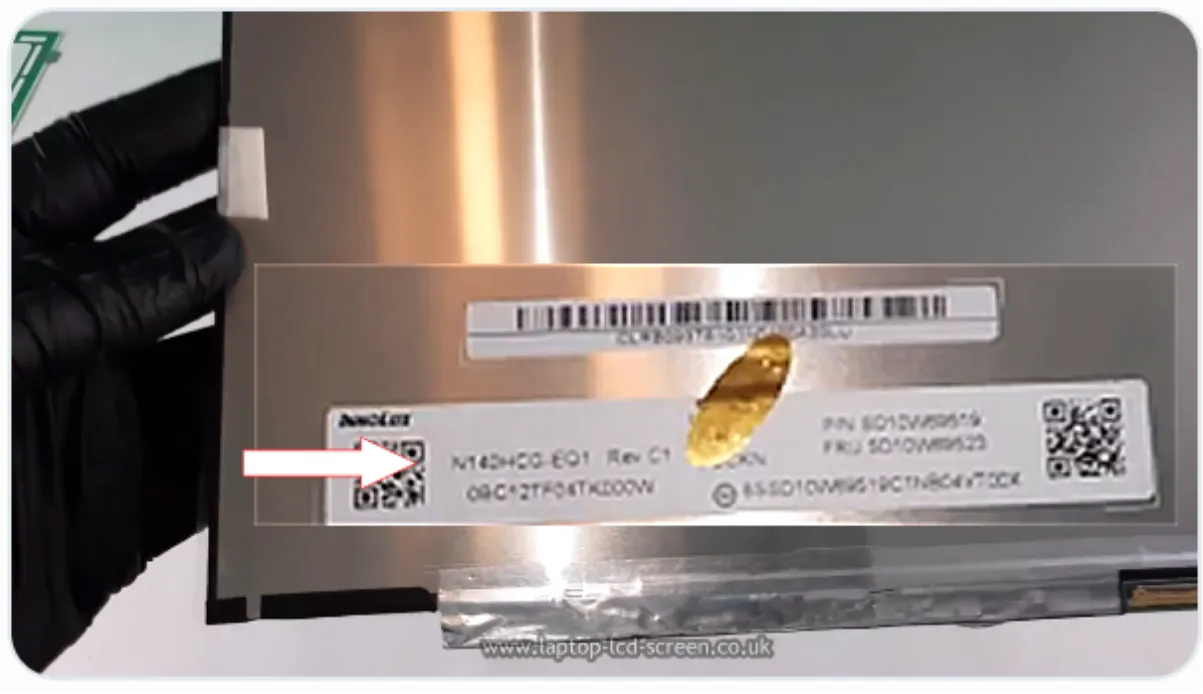
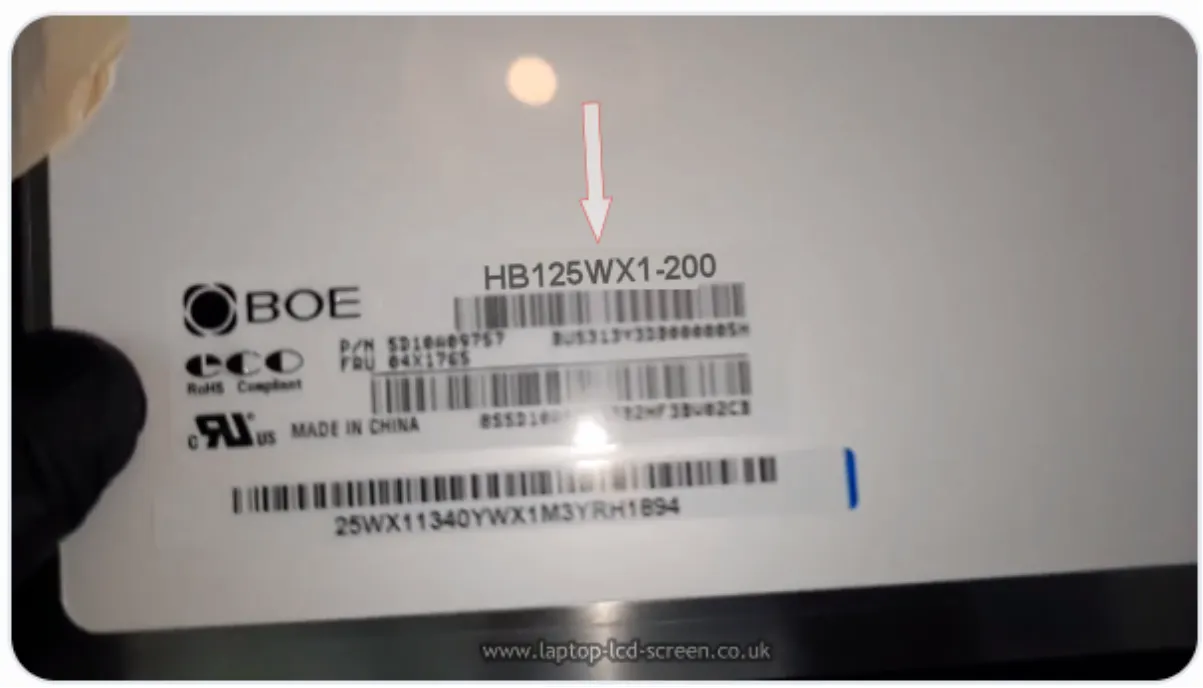
Many laptop panel model numbers contain three digits that correspond to the diagonal size: 156 often indicates 15.6 inches, 140 indicates 14.0 inches and 125 indicates 12.5 inches. This is a useful check, not a complete identification method. Always search the full model, suffix and revision.
Read the complete laptop screen model-number guide or use the Laptop Screen Compatibility Guide before ordering.
Keep the packaging until the repair has been completed successfully.
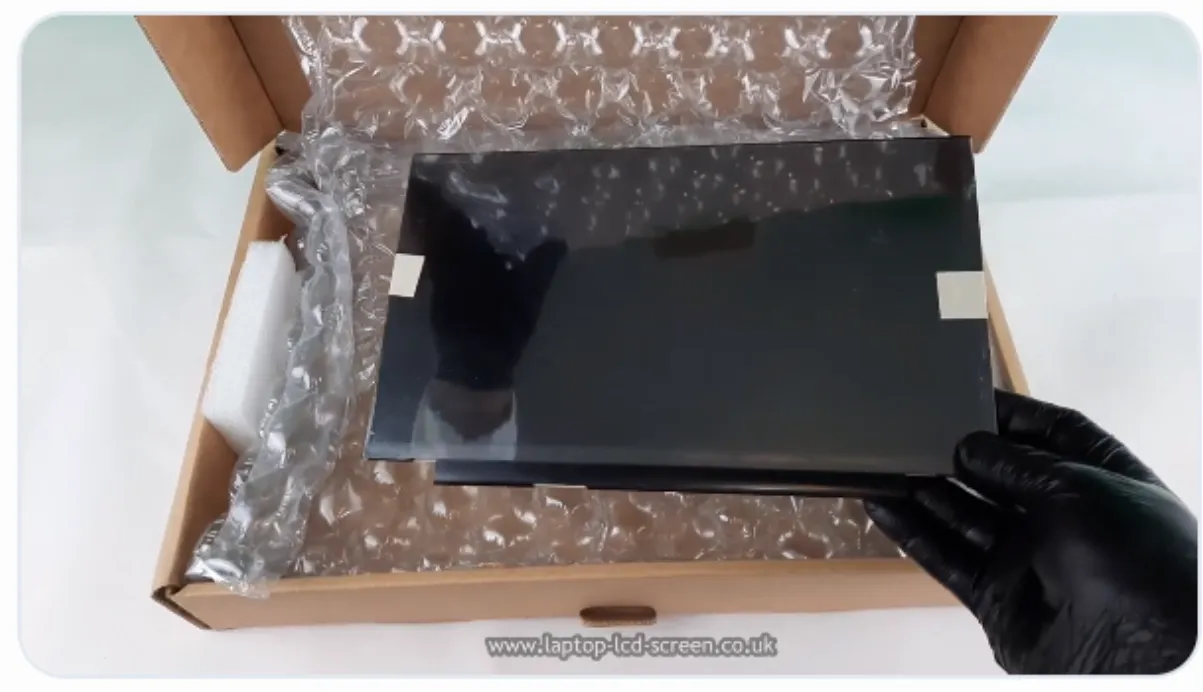
Inspect the box and panel before fitting. Leave the front protective film in place and retain the packaging. UK orders placed before the published cut-off may qualify for next-working-day delivery where the selected service is available; the current options and estimated arrival are shown during checkout.
Take out hidden screws first, then release the clips gradually.
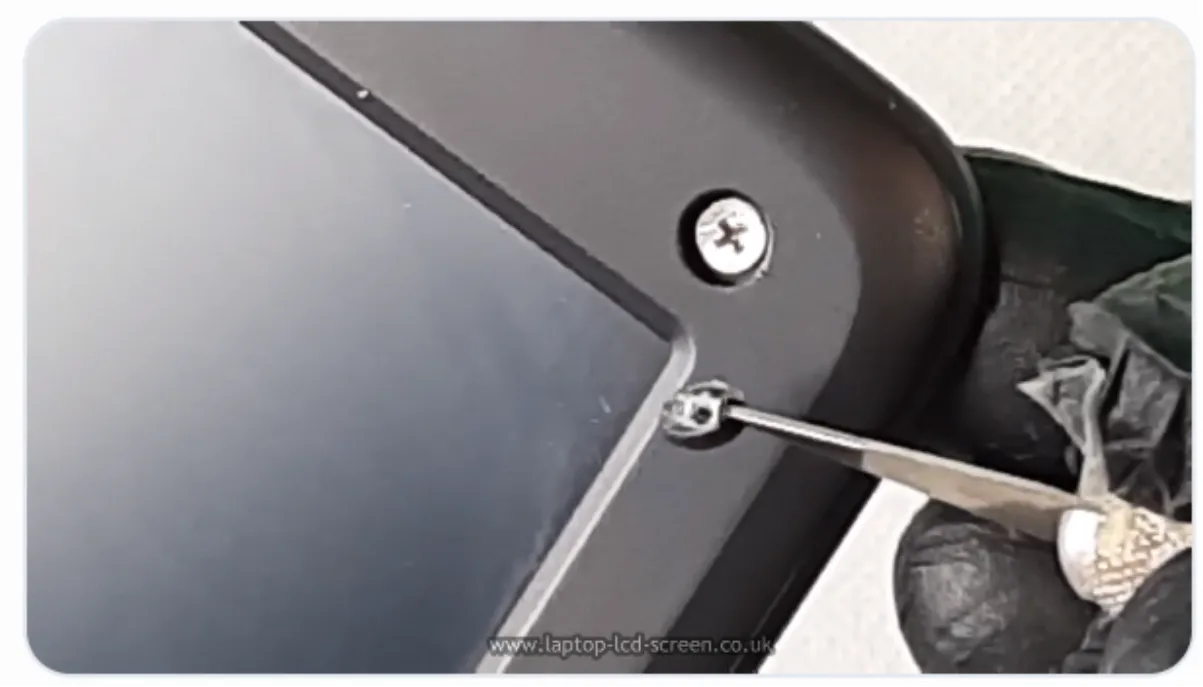
Inspect every corner. Screws are often hidden beneath rubber grommets or cosmetic covers. Keep the covers and screws together so they return to the correct positions.
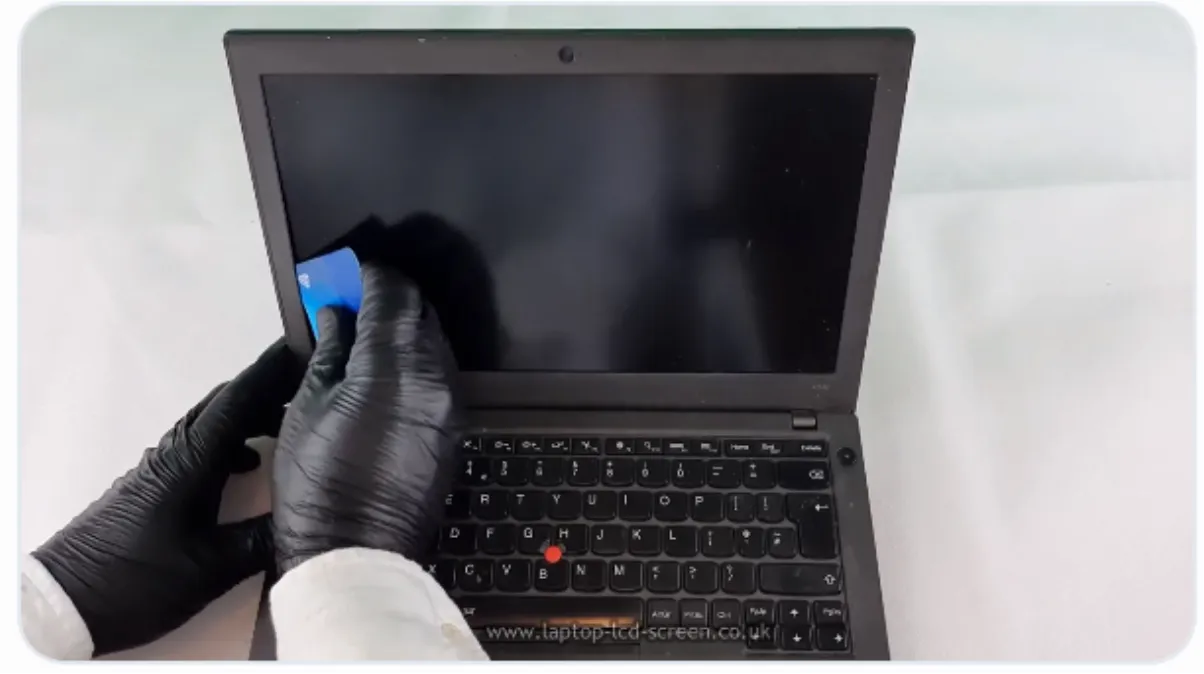
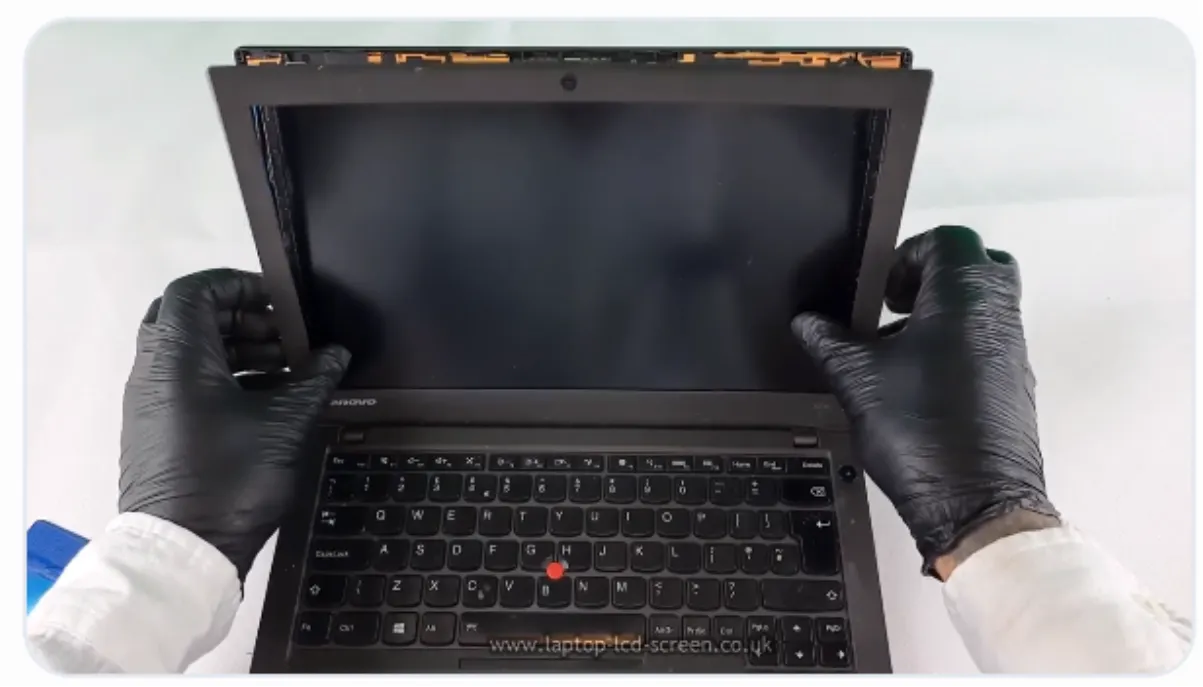
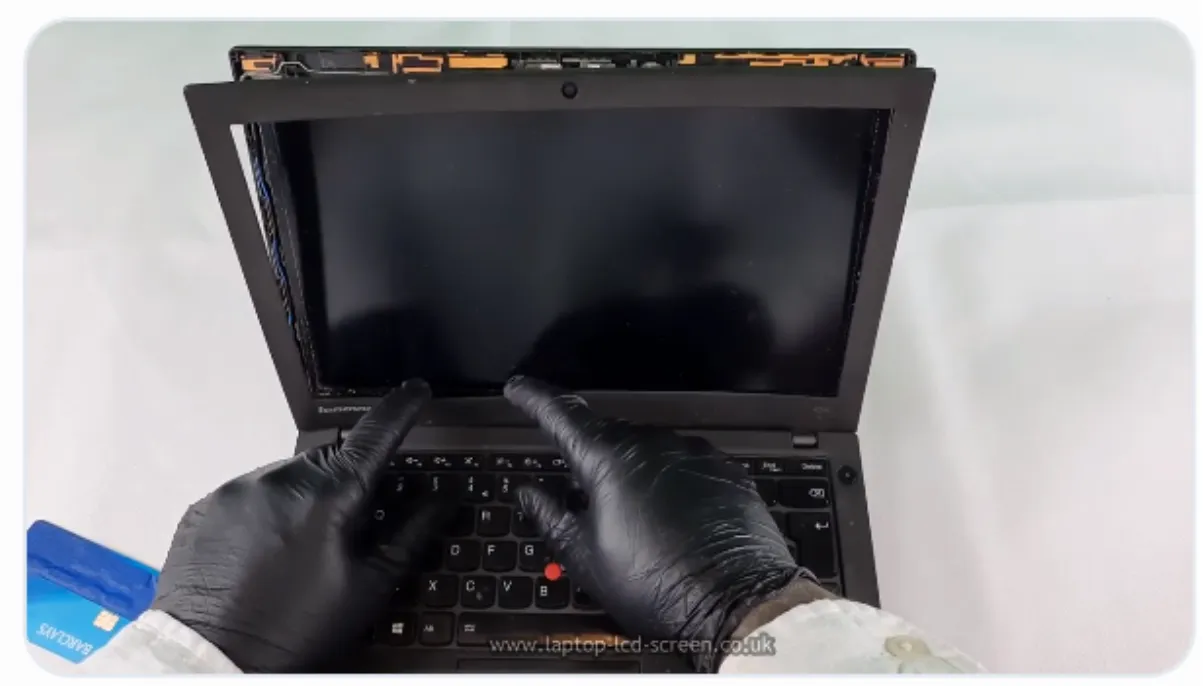
Once a section is free, continue around the lid rather than pulling one corner sharply. Some manufacturers place double-sided tape near the bottom, so resistance does not always mean that a screw remains.
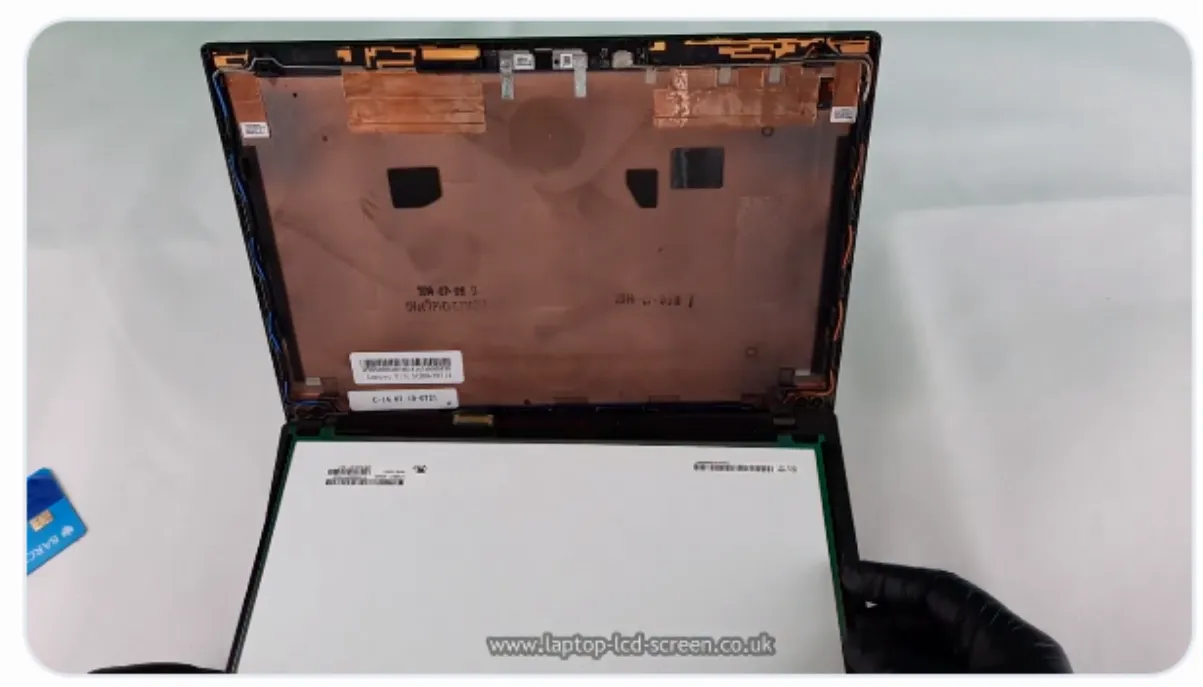
The panel may use screws, brackets, stretch-release adhesive or another model-specific mounting system.
Traditional panels are often screwed into side brackets or corner mounts. Remove each screw while supporting the panel so it cannot fall forwards. Modern narrow-border screens may have no metal tabs and instead use stretch-release adhesive behind the panel.
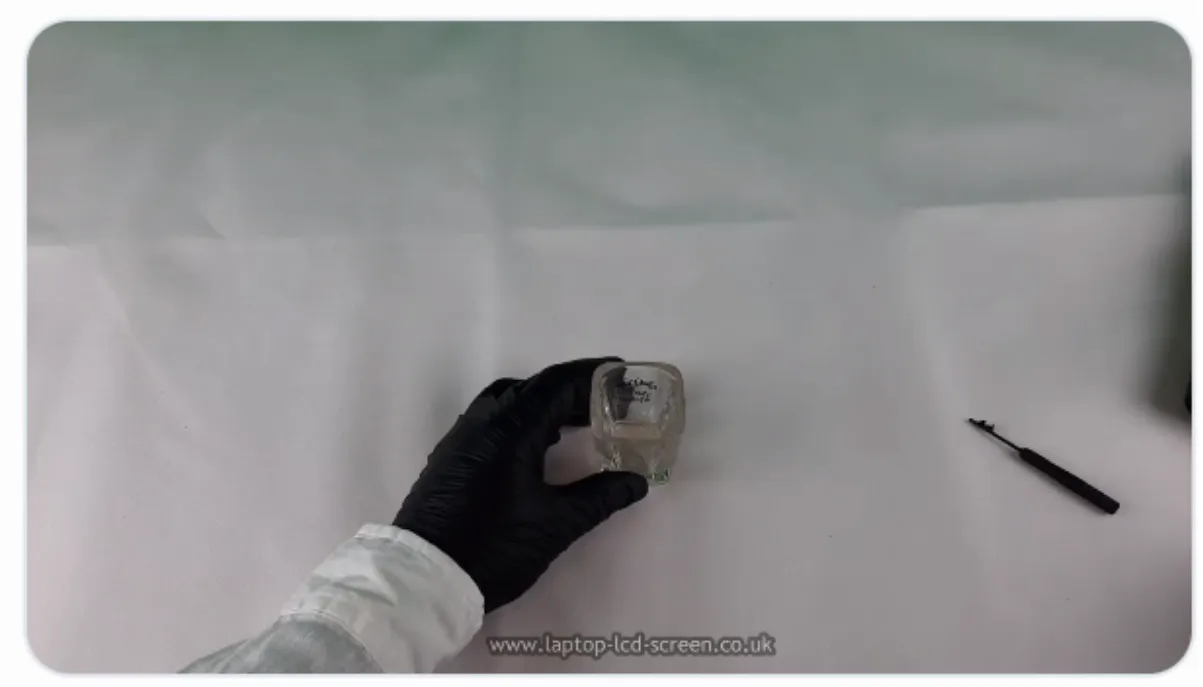
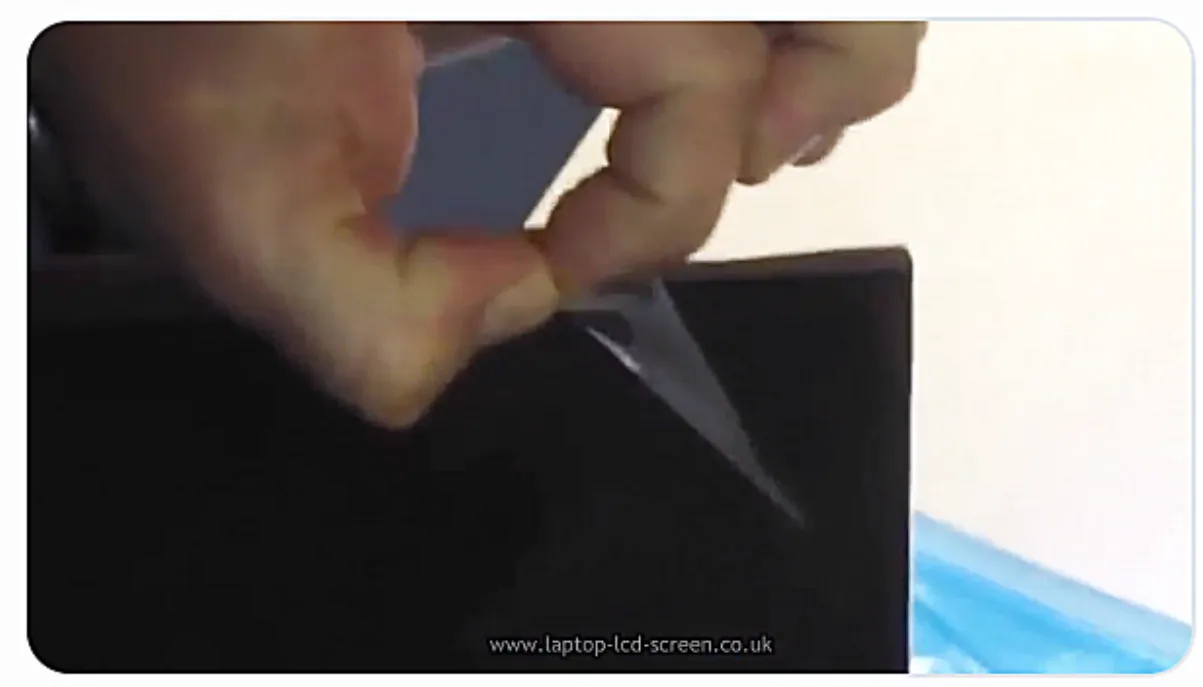
Identify the actual adhesive tab before pulling—do not mistake a cable for a release strip. Support the panel, grip the tab with tweezers and pull it low and parallel to the lid. Pulling upwards or too quickly can snap the strip and leave adhesive trapped behind the panel.
Replacement stretch-release LCD mounting tape is available for no-tabs panels. Do not assume that the original adhesive can be omitted: some lids rely on it to position and retain the panel correctly.
Remove loose tape mechanically with a plastic tool. When residue remains, use only a small amount of an electronics-safe adhesive remover or high-purity isopropyl alcohol on a lint-free cloth after checking that it is suitable for the surface. Keep solvents away from the display face, polariser, printed labels and adhesive-backed foam, and work with ventilation. Do not use petrol or lighter fuel.
Support the panel and examine the connector before pulling anything.
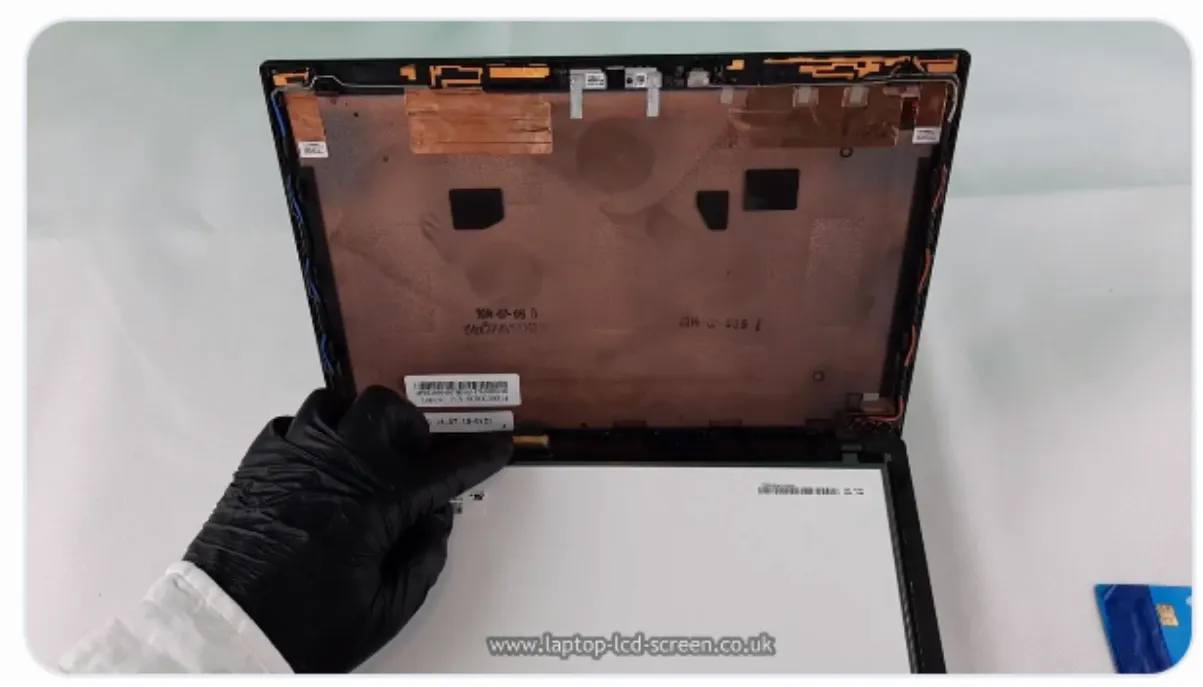
The connector is commonly near the lower-right area when viewed from the rear, although some models place it elsewhere. Follow the cable from the laptop base to the panel rather than relying only on position.
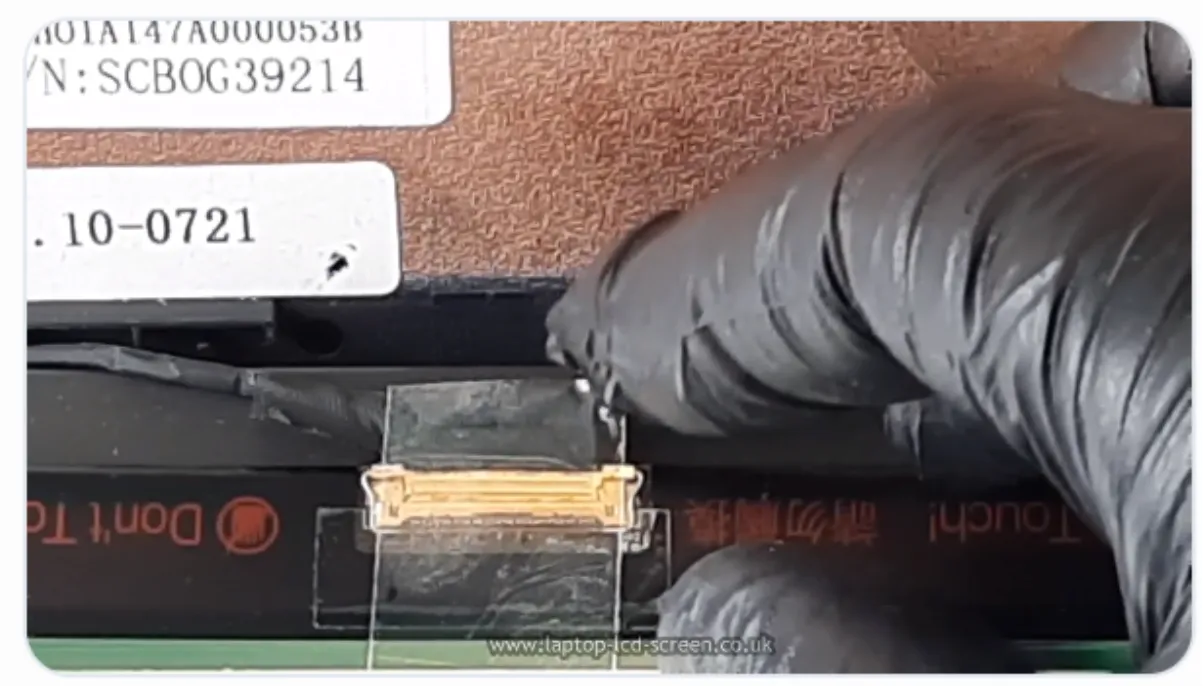
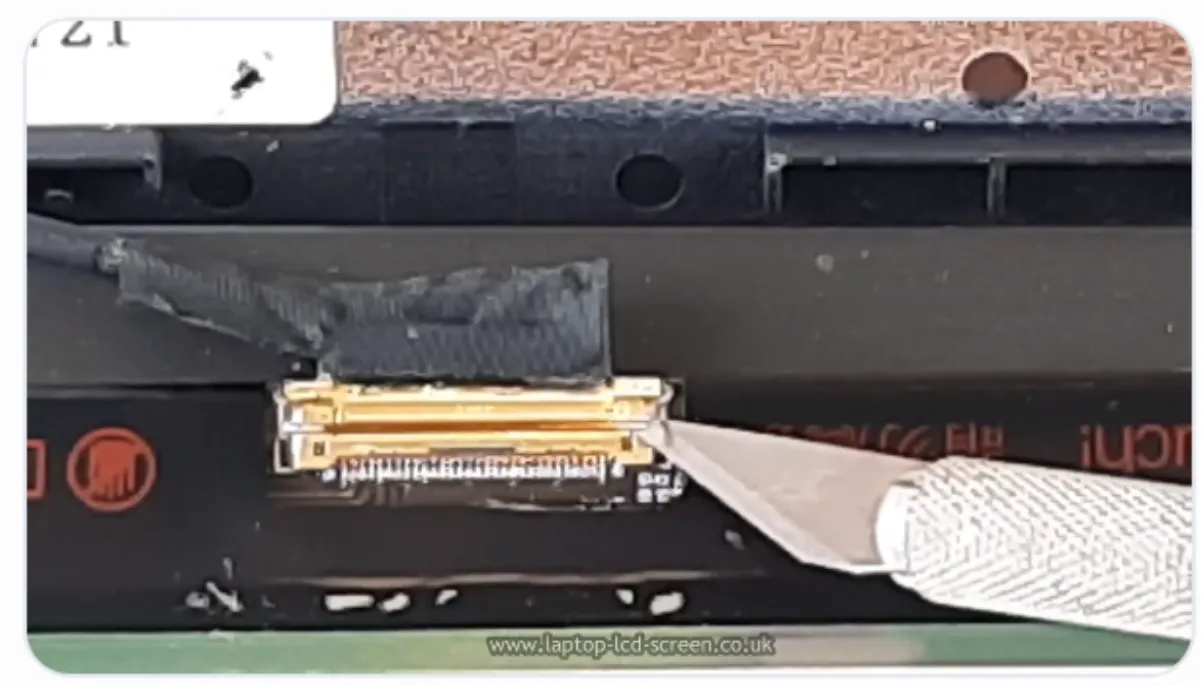
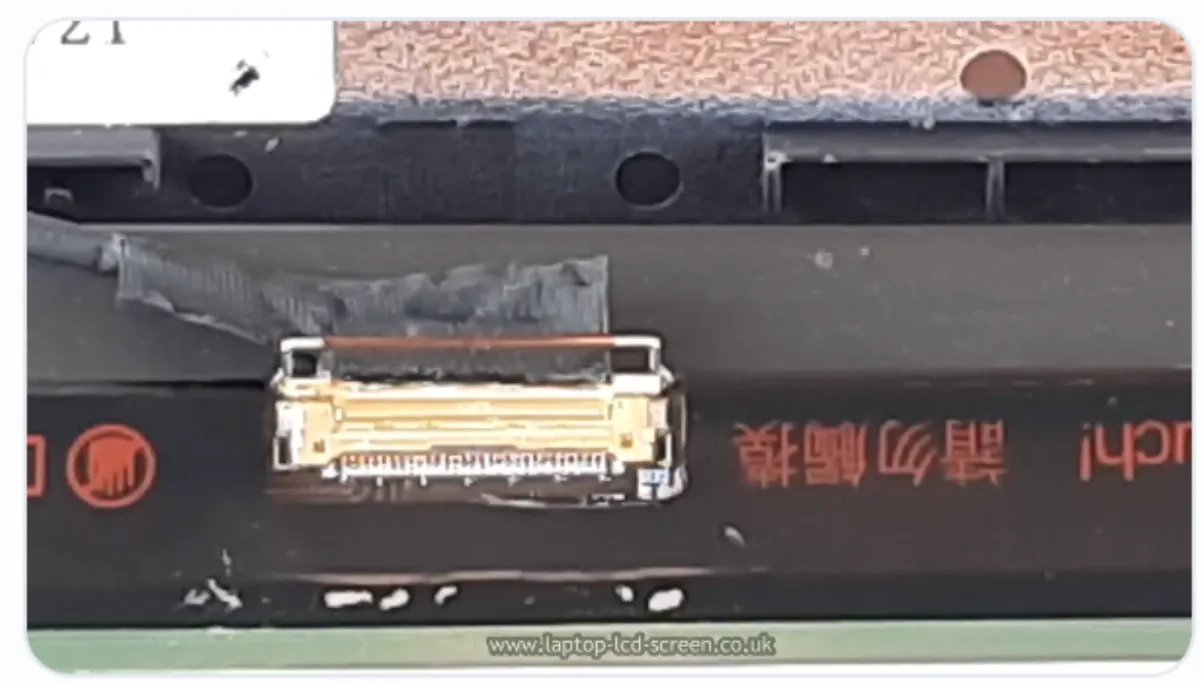
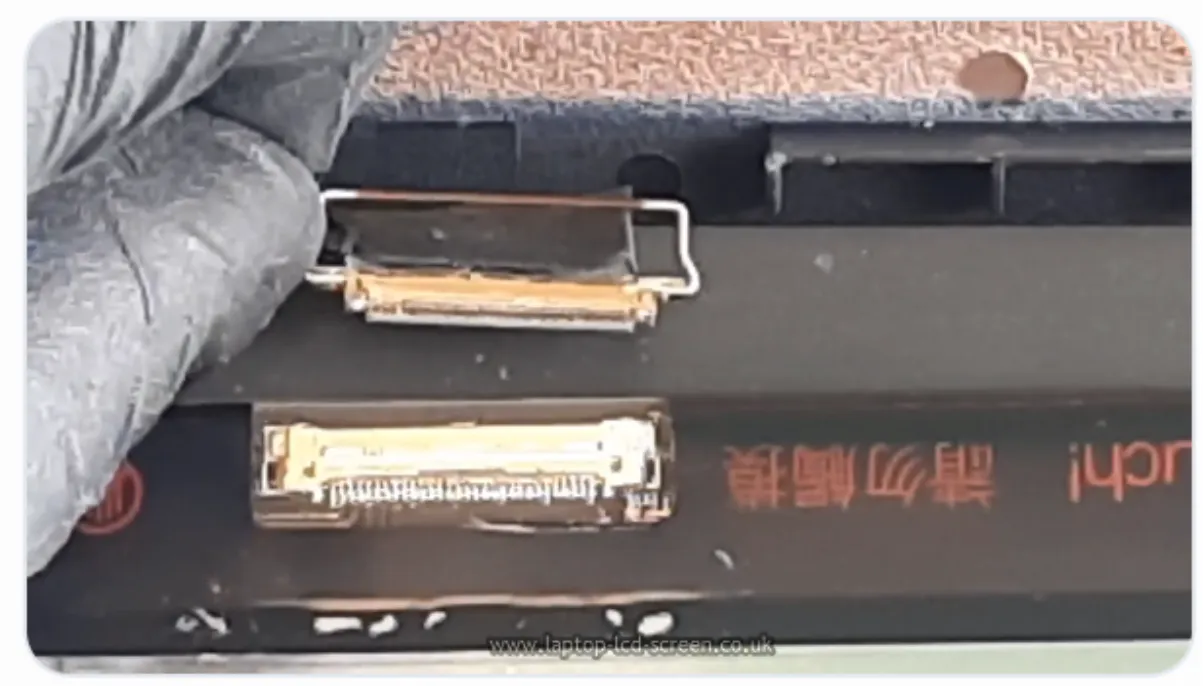
Not every connector has a locking bar. Examine the socket closely. Do not lever against the panel circuit board, and do not pull on the cable wires. Grip the connector or its reinforced pull tab and withdraw it straight and evenly.
Leave the protective film in place until the repair has been tested.
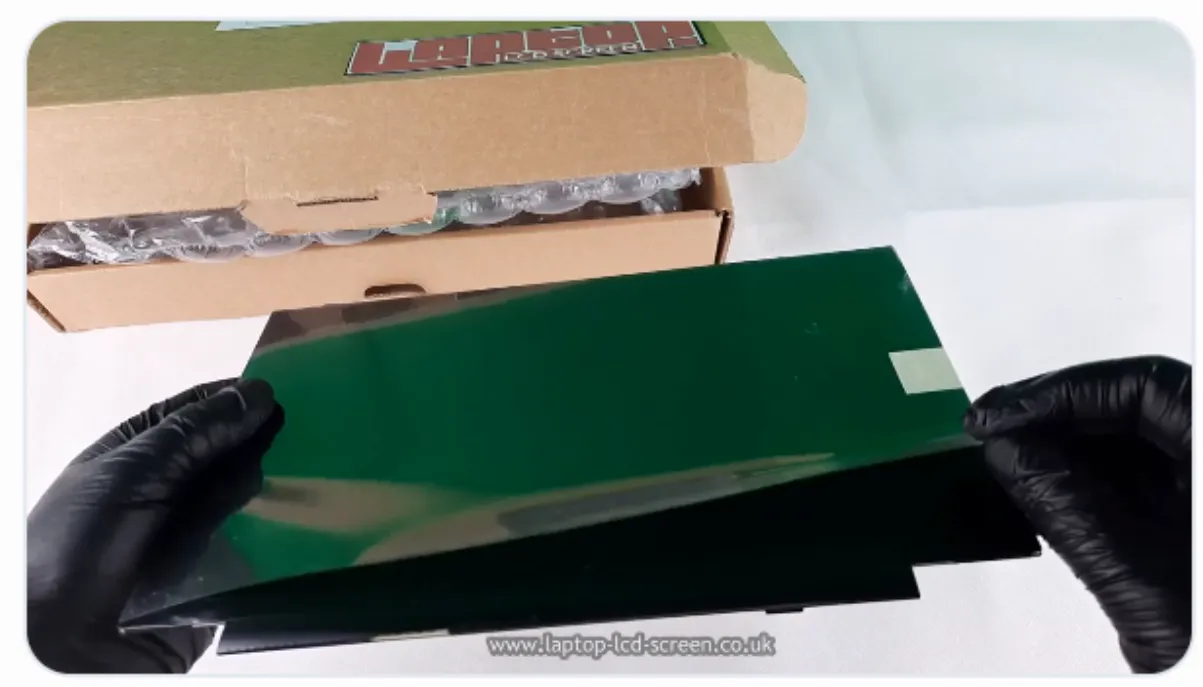
Check the rear label, connector, dimensions and mounting against the original before connecting it. Do not fit a panel merely because the diagonal size and pin count appear the same.
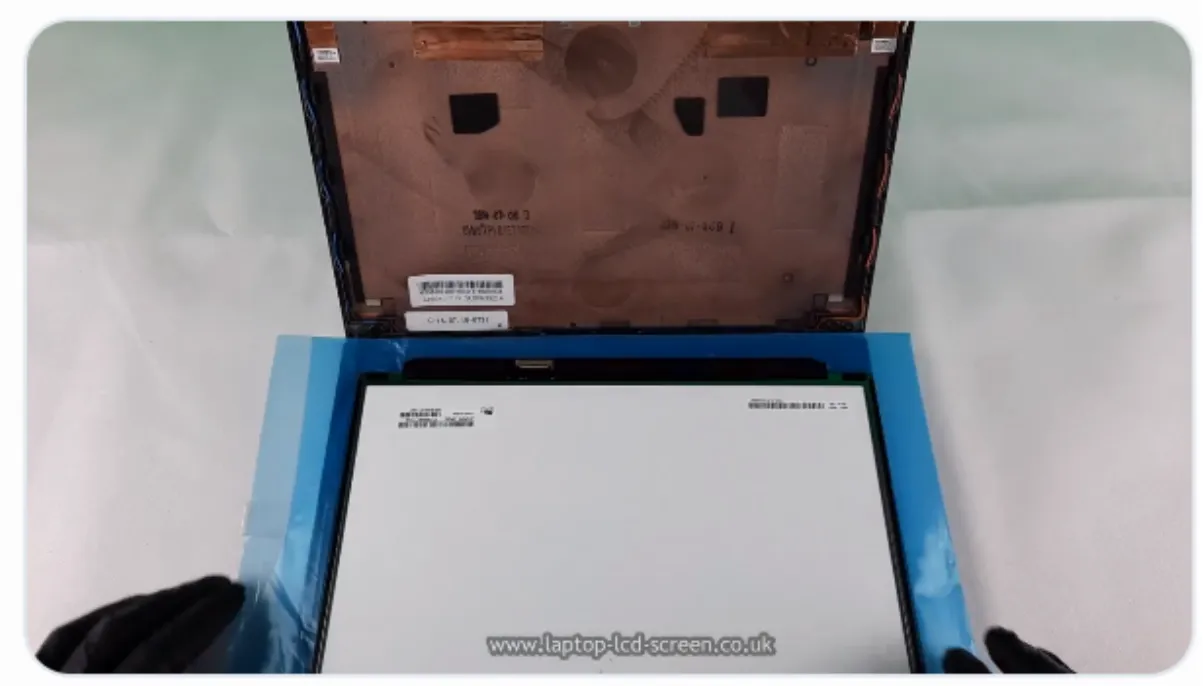
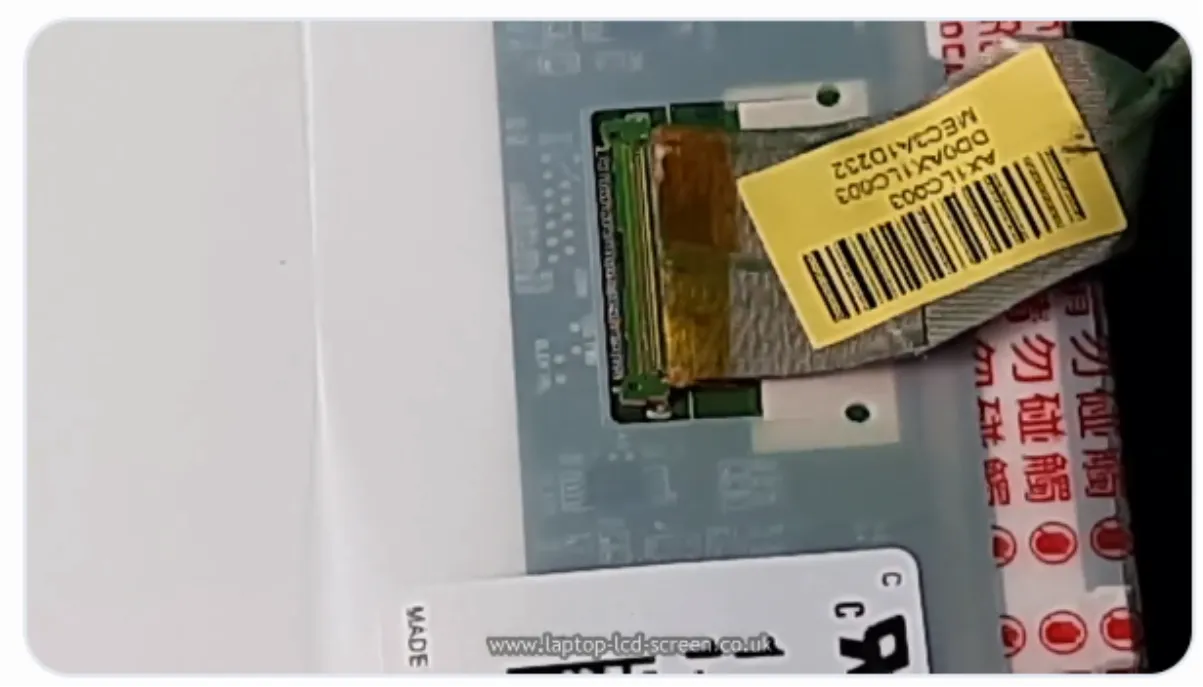
Align both sides of the connector and press it home evenly. A crooked or incomplete connection can cause no image, lines, flickering, overheating or electrical damage.
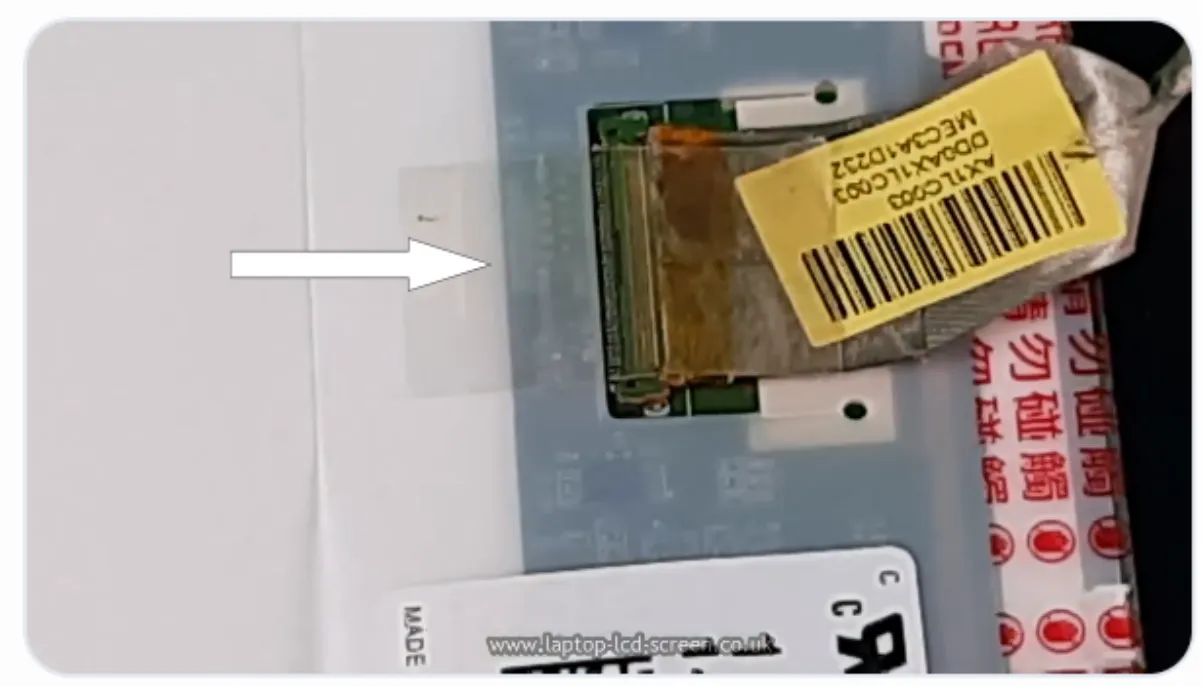
Reuse the original retention tape when it remains secure, or use suitable electronics-grade tape designed for cable retention. Ordinary household tape can soften, lift or leave residue and is not the preferred repair material.
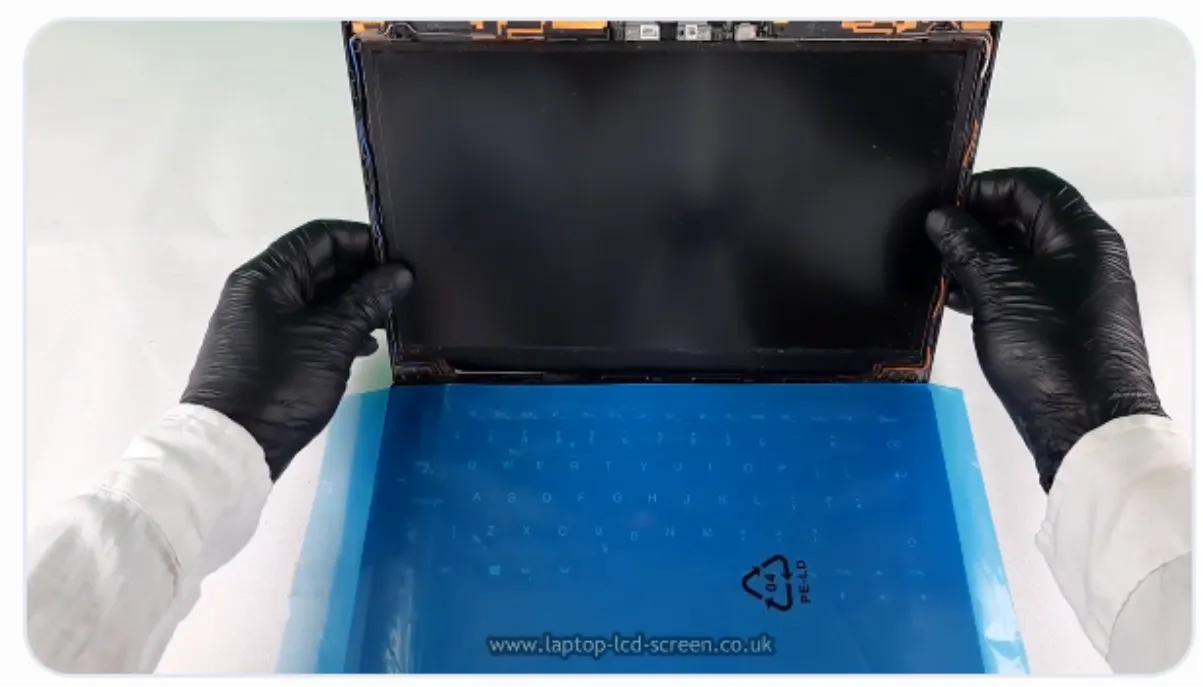
Replace the corner or bracket screws when the design uses them. Narrow-border panels may instead require new stretch-release adhesive. Follow the original mounting layout so the panel remains centred and the bezel can close without pressure.
Test with the panel supported and the connector fully secured.
Reconnect the battery and charger only after the cable is fully inserted, locked and taped. Keep hands and tools away from the open connector area, support the display safely and switch on the laptop.
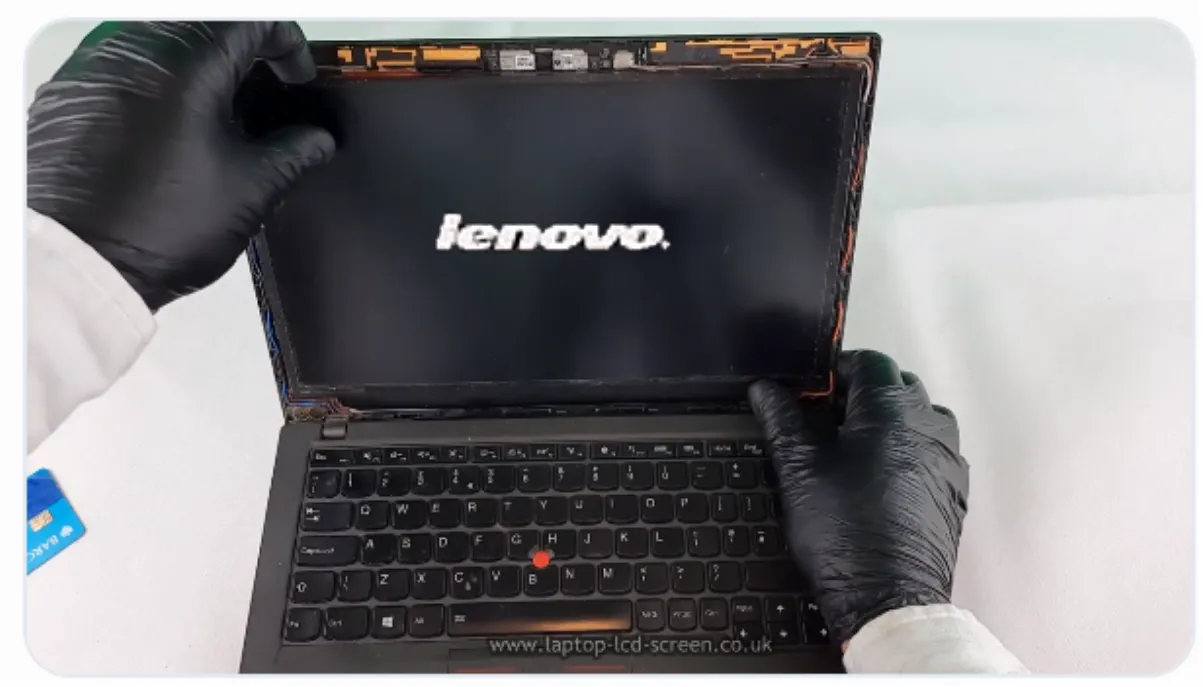
Complete the assembly only after the display has passed the test.
Replace all panel or bracket screws before removing the protective film. Some screens have one obvious shipping film; others may have an additional thin layer. Inspect the pull tabs and edges rather than scraping at the display surface.
Centre the bezel over the screen. Start along the bottom edge, then work gradually up the left and right sides. Press only over the bezel clips—not the active display area.
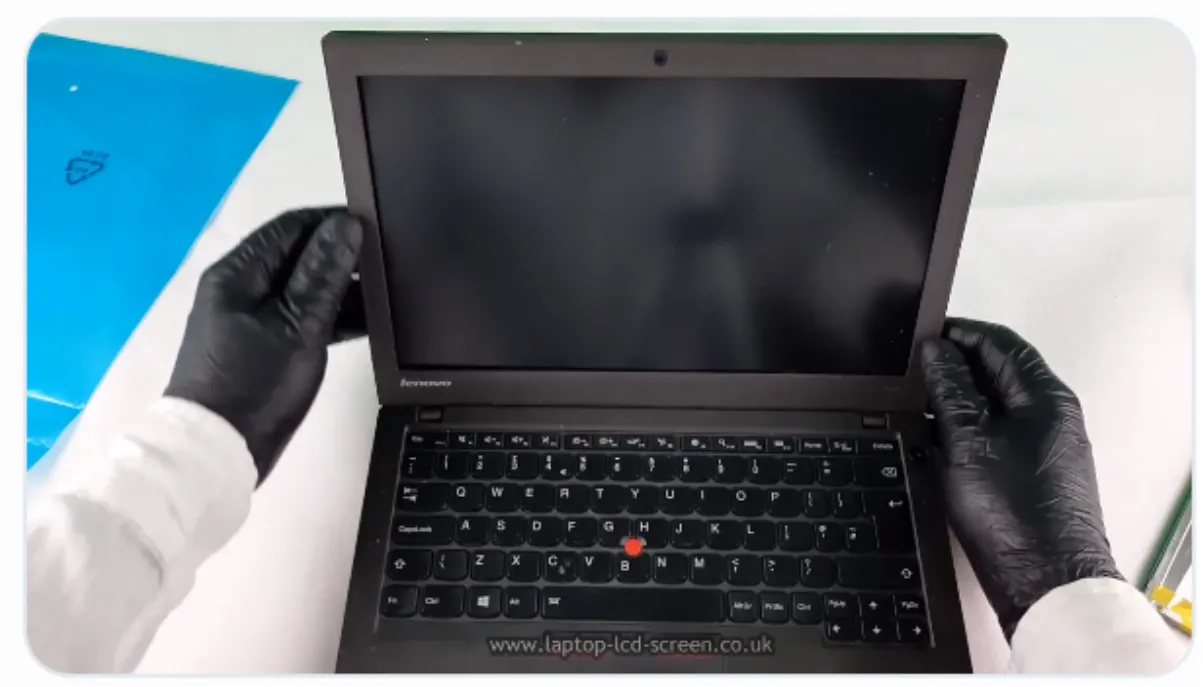
A conventional panel replacement can often be completed in around 20–30 minutes. You have restored the laptop without sending it away and gained a useful repair skill.
This can short connector pins and damage the screen or motherboard.
Resolution, connector pitch, eDP lanes, mounting and technology must also match.
This can snap the plastic frame or tear away the screw mount.
Identify stretch-release strips carefully before applying force.
Pressure can crack the internal glass or create permanent display marks.
Test the image and features before replacing every screw and clip.
Search by laptop model, LCD or OLED panel number, or manufacturer part code. Compare the listing with the original screen before ordering.
Many conventional laptop panels can be replaced at home with a small screwdriver and plastic opening tools. Bonded glass, touch assemblies, convertibles and some ultra-thin displays are more difficult and may require professional equipment.
A familiar conventional bezel-and-panel repair often takes around 20–30 minutes. Adhesive-mounted, touch or unfamiliar models can take longer.
Many standard laptop panels cost approximately £30–£100. High-refresh, OLED, Mini-LED, privacy, touch and complete lid assemblies may cost more.
Use the complete panel model number printed on the rear label, then confirm the resolution, connector, pitch, dimensions, mounting, refresh rate, touch and display technology.
A small Phillips screwdriver and plastic opening pick are usually enough for a conventional repair. Fine tweezers, replacement adhesive and a suitable screen-replacement toolkit can make the work safer.
Yes. Once the cable is fully connected and secured, reconnect power and test the image, brightness and any touch or high-refresh functions before completing the lid assembly.
Not usually. Edge-to-edge glass may be bonded to the digitizer, display or lid. The correct repair may require a complete assembly or controlled professional separation equipment.
Stop and check for hidden screws, rubber covers, adhesive, hooks or a glass-fronted construction. Do not keep pulling because the bezel or panel may break.

